Building an LLM-powered Data Analyst cum Data Scientist
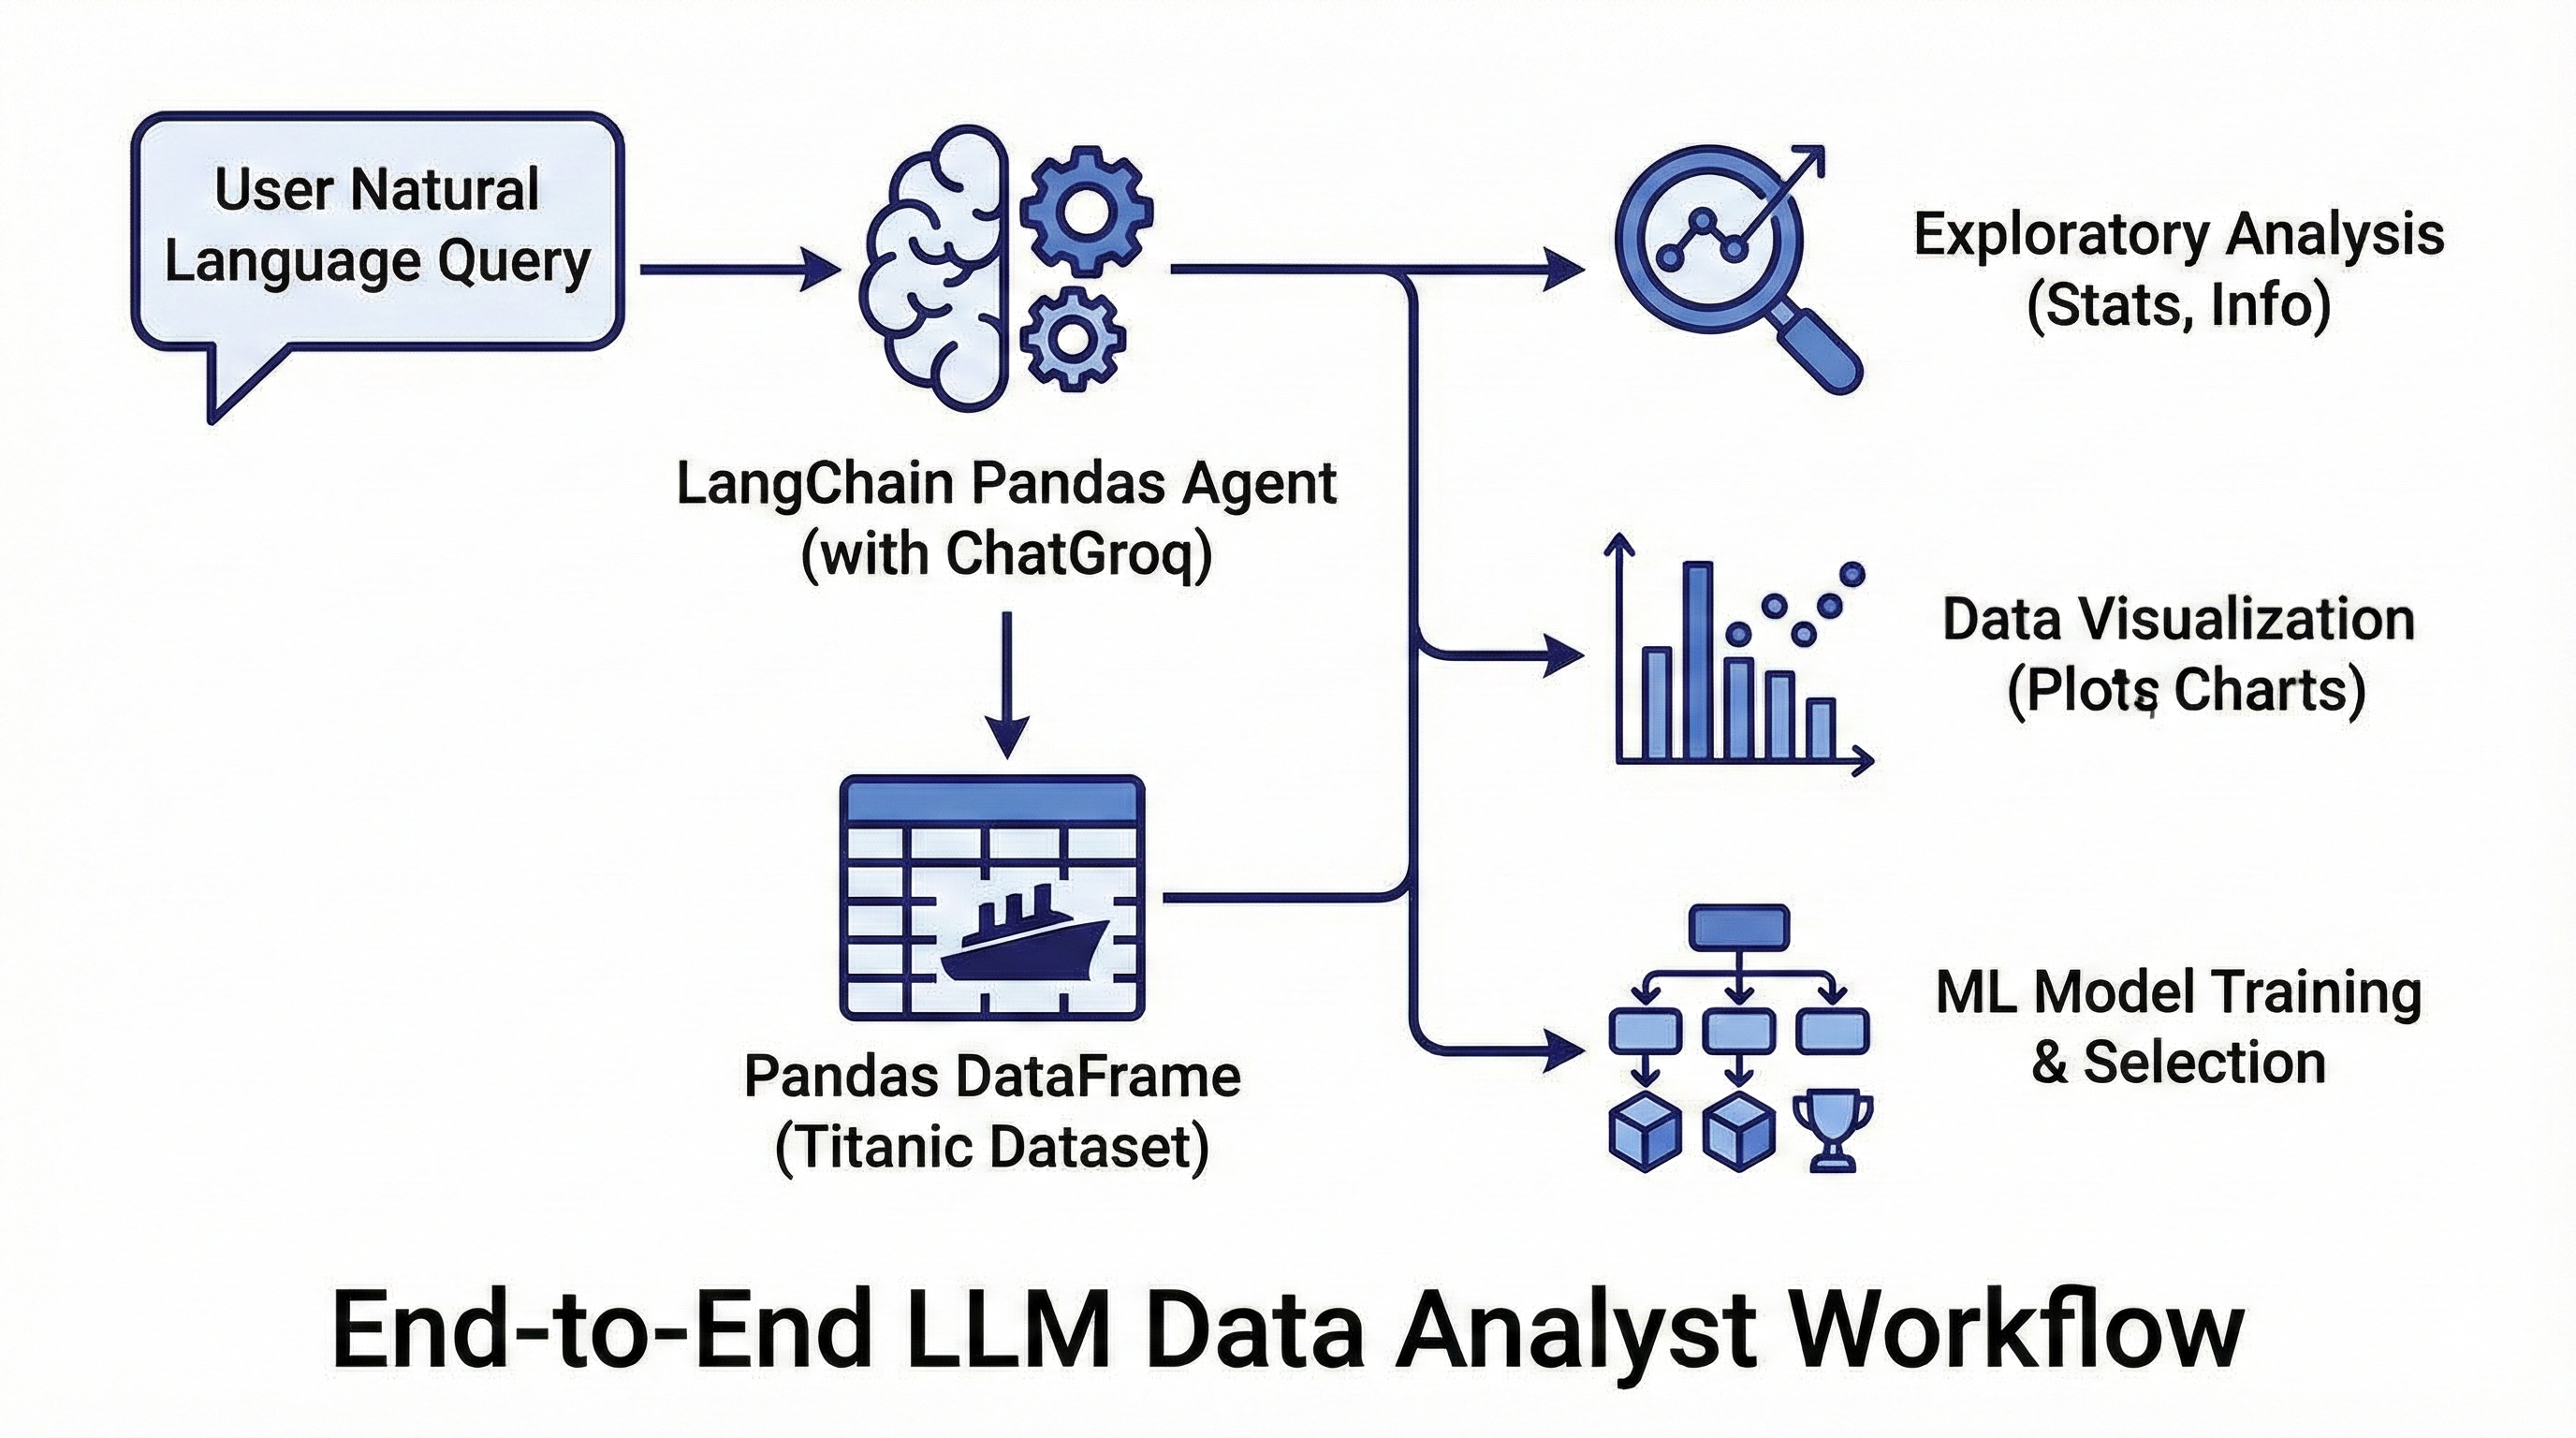
If you have ever wished you could talk to your pandas DataFrame in natural language, create_pandas_dataframe_agent from langchain_experimental.agents.agent_toolkits.pandas.base is exactly what you need. In this post we will build an end‑to‑end “LLM data analyst/scientist” that explores a real‑world dataset, creates visualizations, trains multiple machine learning models, and selects the best one based on evaluation metrics.
We will use a public dataset (the classic Titanic survival data) and see how far we can go with just prompts plus a thin layer of Python glue around the agent. For free experimentation, we will use ChatGroq with the free plan of Groq API instead of paid APIs.
What is create_pandas_dataframe_agent?
create_pandas_dataframe_agent constructs an AgentExecutor that has access to:
- Your LLM (e.g.,
ChatGroqorChatOpenAI) - One or more pandas DataFrames
- A Python REPL tool that lets the LLM write and execute Python code against those DataFrames
The function signature (simplified) looks like this:
from langchain_experimental.agents.agent_toolkits.pandas.base import (
    create_pandas_dataframe_agent,
)

agent = create_pandas_dataframe_agent(
    llm,
    df,
    agent_type="tool-calling",
    verbose=True,
    include_df_in_prompt=True,
    number_of_head_rows=5,
    allow_dangerous_code=False,
    extra_tools=()
)
Under the hood, LangChain wires up an agent that can inspect the DataFrame, call pandas, generate plots, and even import scikit‑learn and it is all orchestrated by natural language instructions you send to agent.invoke({"input": "..."}).
Security note: the agent uses a Python REPL that can execute arbitrary code; you must run this in a sandboxed environment in production.
Setup and Dataset
We will use the Titanic dataset because it is small, tabular, and has a clear prediction task: “Will this passenger survive?”
Install dependencies
pip install langchain langchain-experimental langchain-groq pandas scikit-learn matplotlib seaborn
You will need a free Groq API key (sign up at console.groq.com and set GROQ_API_KEY as an environment variable). Groq’s free tier gives generous rate limits for models like Llama 3.1, making it perfect for prototyping without costs.
####Load the dataset and create the agent
import pandas as pd
from langchain_groq import ChatGroq  # Free, fast inference!
from langchain_experimental.agents import create_pandas_dataframe_agent

# 1. Load Titanic data

df = pd.read_csv("https://web.stanford.edu/class/archive/cs/cs109/cs109.1166/stuff/titanic.csv")  # any titanic-like CSV with Survived, Pclass, Age, etc.

# 2. Initialize LLM (free Groq model)

llm = ChatGroq(
    model="llama-3.1-8b-instant",
    temperature=0,
)

# 3. Create the pandas agent

agent = create_pandas_dataframe_agent(
    llm=llm,
    df=df,
    agent_type="tool-calling",
    verbose=True,
    include_df_in_prompt=True,
    number_of_head_rows=5,
    allow_dangerous_code=True
)
Groq models are blazing fast and fully compatible with LangChain agents, you get the same conversational power as OpenAI but for free during development.
We set number_of_head_rows to a small value so the prompt includes just the head of the DataFrame, keeping context size manageable.
Conversational Exploratory Data Analysis
Once the agent is ready, we can start doing EDA using plain English. Behind the scenes, the LLM writes pandas code, executes it, and returns a natural‑language summary plus any textual outputs.
Basic summary statistics
response = agent.invoke({
    "input": "Give me a concise summary of the dataset: row count, column count, "
             "missing values per column, and descriptive stats for numeric columns."
})
print(response["output"])
Typical things the agent will do:
- Call
df.shapefor rows/columns - Use
df.isna().sum()for missing values - Use
df.describe()for numeric features
Because the agent has a Python REPL tool bound to the DataFrame, it can chain these calls without you writing the code explicitly.
Ask about specific columns
response = agent.invoke({
    "input": "What is the average age of passengers?"
})
print(response["output"])
Target distribution and feature insights
You can ask progressively richer questions, for example:
agent.invoke({
    "input": "What percentage of passengers survived vs did not survive? "
             "Show the counts and percentages."
})

agent.invoke({
    "input": "Which features seem most correlated with survival? "
             "Give a short ranking based on simple statistics."
})
Internally, the agent will compute group‑bys like df.groupby("Survived")["Age"].mean() or correlations via df.corr(numeric_only=True). You get a narrative answer, but you can always inspect verbose=True logs to see the Python code it generated.
Visualization Capabilities
Because the agent has access to a Python REPL, it can import matplotlib or seaborn and build plots. You just need to ensure your environment can display or save figures.
Example: Survival rate by passenger class
plot_code = """
import matplotlib.pyplot as plt
import seaborn as sns

plt.figure(figsize=(6, 4))
sns.barplot(data=df, x='Pclass', y='Survived', estimator=lambda x: sum(x)/len(x))
plt.title('Survival Rate by Passenger Class')
plt.ylabel('Survival Rate')
plt.xlabel('Passenger Class')
plt.tight_layout()
plt.savefig('survival_by_class.png')
'Plot saved to survival_by_class.png'
"""

agent.invoke({
    "input": "Execute the following code to visualize survival rate by class and "
             "save it as a PNG file:\n" + plot_code
})
Here we explicitly pass code to keep things deterministic, but you can also delegate more of it to the agent:
agent.invoke({
    "input": (
        "Create a bar chart of survival rate by passenger class using seaborn. "
        "Save it as 'survival_by_class_auto.png' and return a short textual summary."
    )
})
The agent will then:
- Import
matplotlib.pyplotandseaborn - Compute aggregated survival rates
- Save the figure to disk and synthesize a description
You can repeat this pattern for:
- distribution by survival
- Fare distribution with outliers
- Heatmap of feature correlations
Turning the Agent into an Auto-ML Helper
Next, we will ask the agent to help us build and evaluate multiple ML models. We will use scikit‑learn for model training and metrics, but the LLM will generate most of the boilerplate code.
Step 1: Data preprocessing
We want to:
- Drop columns that are not useful (e.g., names, ticket numbers)
- Handle missing values
- Encode categorical variables
- Split into train/test sets
You can prompt the agent:
preprocess_prompt = """
Prepare the Titanic dataset for a binary classification task predicting Survived.

Requirements:
- Drop identifier-like columns such as PassengerId, Name, Ticket, Cabin.
- Use reasonable imputations for missing values (median for numeric, mode for categorical).
- One-hot encode categorical features.
- Split the data into train and test sets with test_size=0.2 and random_state=42.
- Name the resulting arrays X_train, X_test, y_train, y_test.
- Use scikit-learn where appropriate.
Return only a short textual confirmation and the shapes of each split.
"""

agent.invoke({"input": preprocess_prompt})
The agent will likely generate code along the lines of:
from sklearn.model_selection import train_test_splitfrom sklearn.impute import SimpleImputerfrom sklearn.compose import ColumnTransformerfrom sklearn.preprocessing import OneHotEncoder
and then run it in the REPL against your df.
Step 2: Train multiple models
Now ask it to train a few standard classifiers:
train_models_prompt = """
Using X_train, X_test, y_train, y_test that you have already created:

- Train the following classifiers with mostly default hyperparameters:
  - LogisticRegression
  - RandomForestClassifier
  - GradientBoostingClassifier
- Evaluate each model on the test set using:
  - Accuracy
  - Precision
  - Recall
  - F1-score
- Print a compact table of metrics for all models.
"""

agent.invoke({"input": train_models_prompt})
The LLM will typically import from sklearn.linear_model, sklearn.ensemble, and sklearn.metrics, then compute and print a table of metrics.
You now have a simple, conversational Auto‑ML loop powered by create_pandas_dataframe_agent.
Selecting the Best Model Programmatically
Once all metrics are available, we can ask the agent to “rank and select” the best model based on a chosen metric.
select_model_prompt = """
From the models you trained (LogisticRegression, RandomForestClassifier, GradientBoostingClassifier):

- Recompute or reuse the metrics (accuracy, precision, recall, F1).
- Select the best model based primarily on F1-score.
- Print:
  - The chosen model name.
  - Its full metric set.
  - A one-paragraph explanation of why it is preferred.
"""

agent.invoke({"input": select_model_prompt})
To make downstream usage easier, you can ask the agent to also expose the best model as a variable in the REPL:
persist_best_model_prompt = """
Assume you have variables for each trained model (e.g., log_reg, rf_clf, gb_clf).

- Identify the model with the highest F1-score on the test set.
- Assign that model instance to a variable named best_model.
- Print the chosen model name and its F1-score only.
"""

agent.invoke({"input": persist_best_model_prompt})
Now you can manually import joblib in your notebook and persist the selected model:
import joblib
joblib.dump(best_model, "best_titanic_model.joblib")
The key point: you did not hand‑write the majority of the ML pipeline; instead, you orchestrated it via natural‑language prompts through the pandas agent.
Customizing Prompts and Multi-Agent Patterns
If you want more control over how the agent reasons about the DataFrame, you can customize the underlying prompt using the prefix and suffix parameters.
from langchain.agents.types import AgentType

custom_prefix = (
    "You are a senior data scientist specializing in tabular data analysis. "
    "You are working with the Titanic passenger dataset. "
)
custom_suffix = (
    "Always prefer concise, tabular outputs, and avoid excessive prose. "
    "If you train models, clearly state assumptions and limitations."
)

agent = create_pandas_dataframe_agent(
    llm=llm,  # Your ChatGroq instance
    df=df,
    agent_type=AgentType.ZERO_SHOT_REACT_DESCRIPTION,  # classic ReAct-style agent[web:19]
    prefix=custom_prefix,
    suffix=custom_suffix,
    include_df_in_prompt=True,
    number_of_head_rows=5,
)
You can also plug this pandas agent into a larger multi‑agent system, for example having one agent responsible for data ingestion and another for analysis, then passing the DataFrame between them. This lets you build richer “LLM apps” where one agent fetches data and another performs deep analysis.
Practical Tips and Gotchas
A few things I have found useful when working with create_pandas_dataframe_agent in realistic projects:
- Manage context size: Keep
number_of_head_rowssmall and add column descriptions via custom prefix instead of dumping the whole DataFrame into the prompt. - Sandbox aggressively: Because
allow_dangerous_code=Trueis often required for plotting and ML, run this in a container or other isolated environment. - Be explicit with objectives: Tell the agent exactly what to compute, what to name variables, and what format to use for outputs (e.g., “print a markdown table”).
- Use verbose=True in development: Inspecting the generated Python helps you debug and refine prompts.
- Groq-specific tips: Start with
llama-3.1-8b-instantfor speed; upgrade to larger models if needed. Monitor free tier limits via the Groq console. - Promote successful code to first‑class functions: Once the agent generates a good preprocessing or modeling pipeline, copy it into your codebase and treat it as normal, reviewed code.
With just a few dozen lines of glue code and some carefully crafted prompts, create_pandas_dataframe_agent turns your LLM into a conversational data scientist sitting on top of pandas, matplotlib, and scikit-learn. ChatGroq makes it free and fast to iterate, perfect for turning data exploration into a chat conversation.